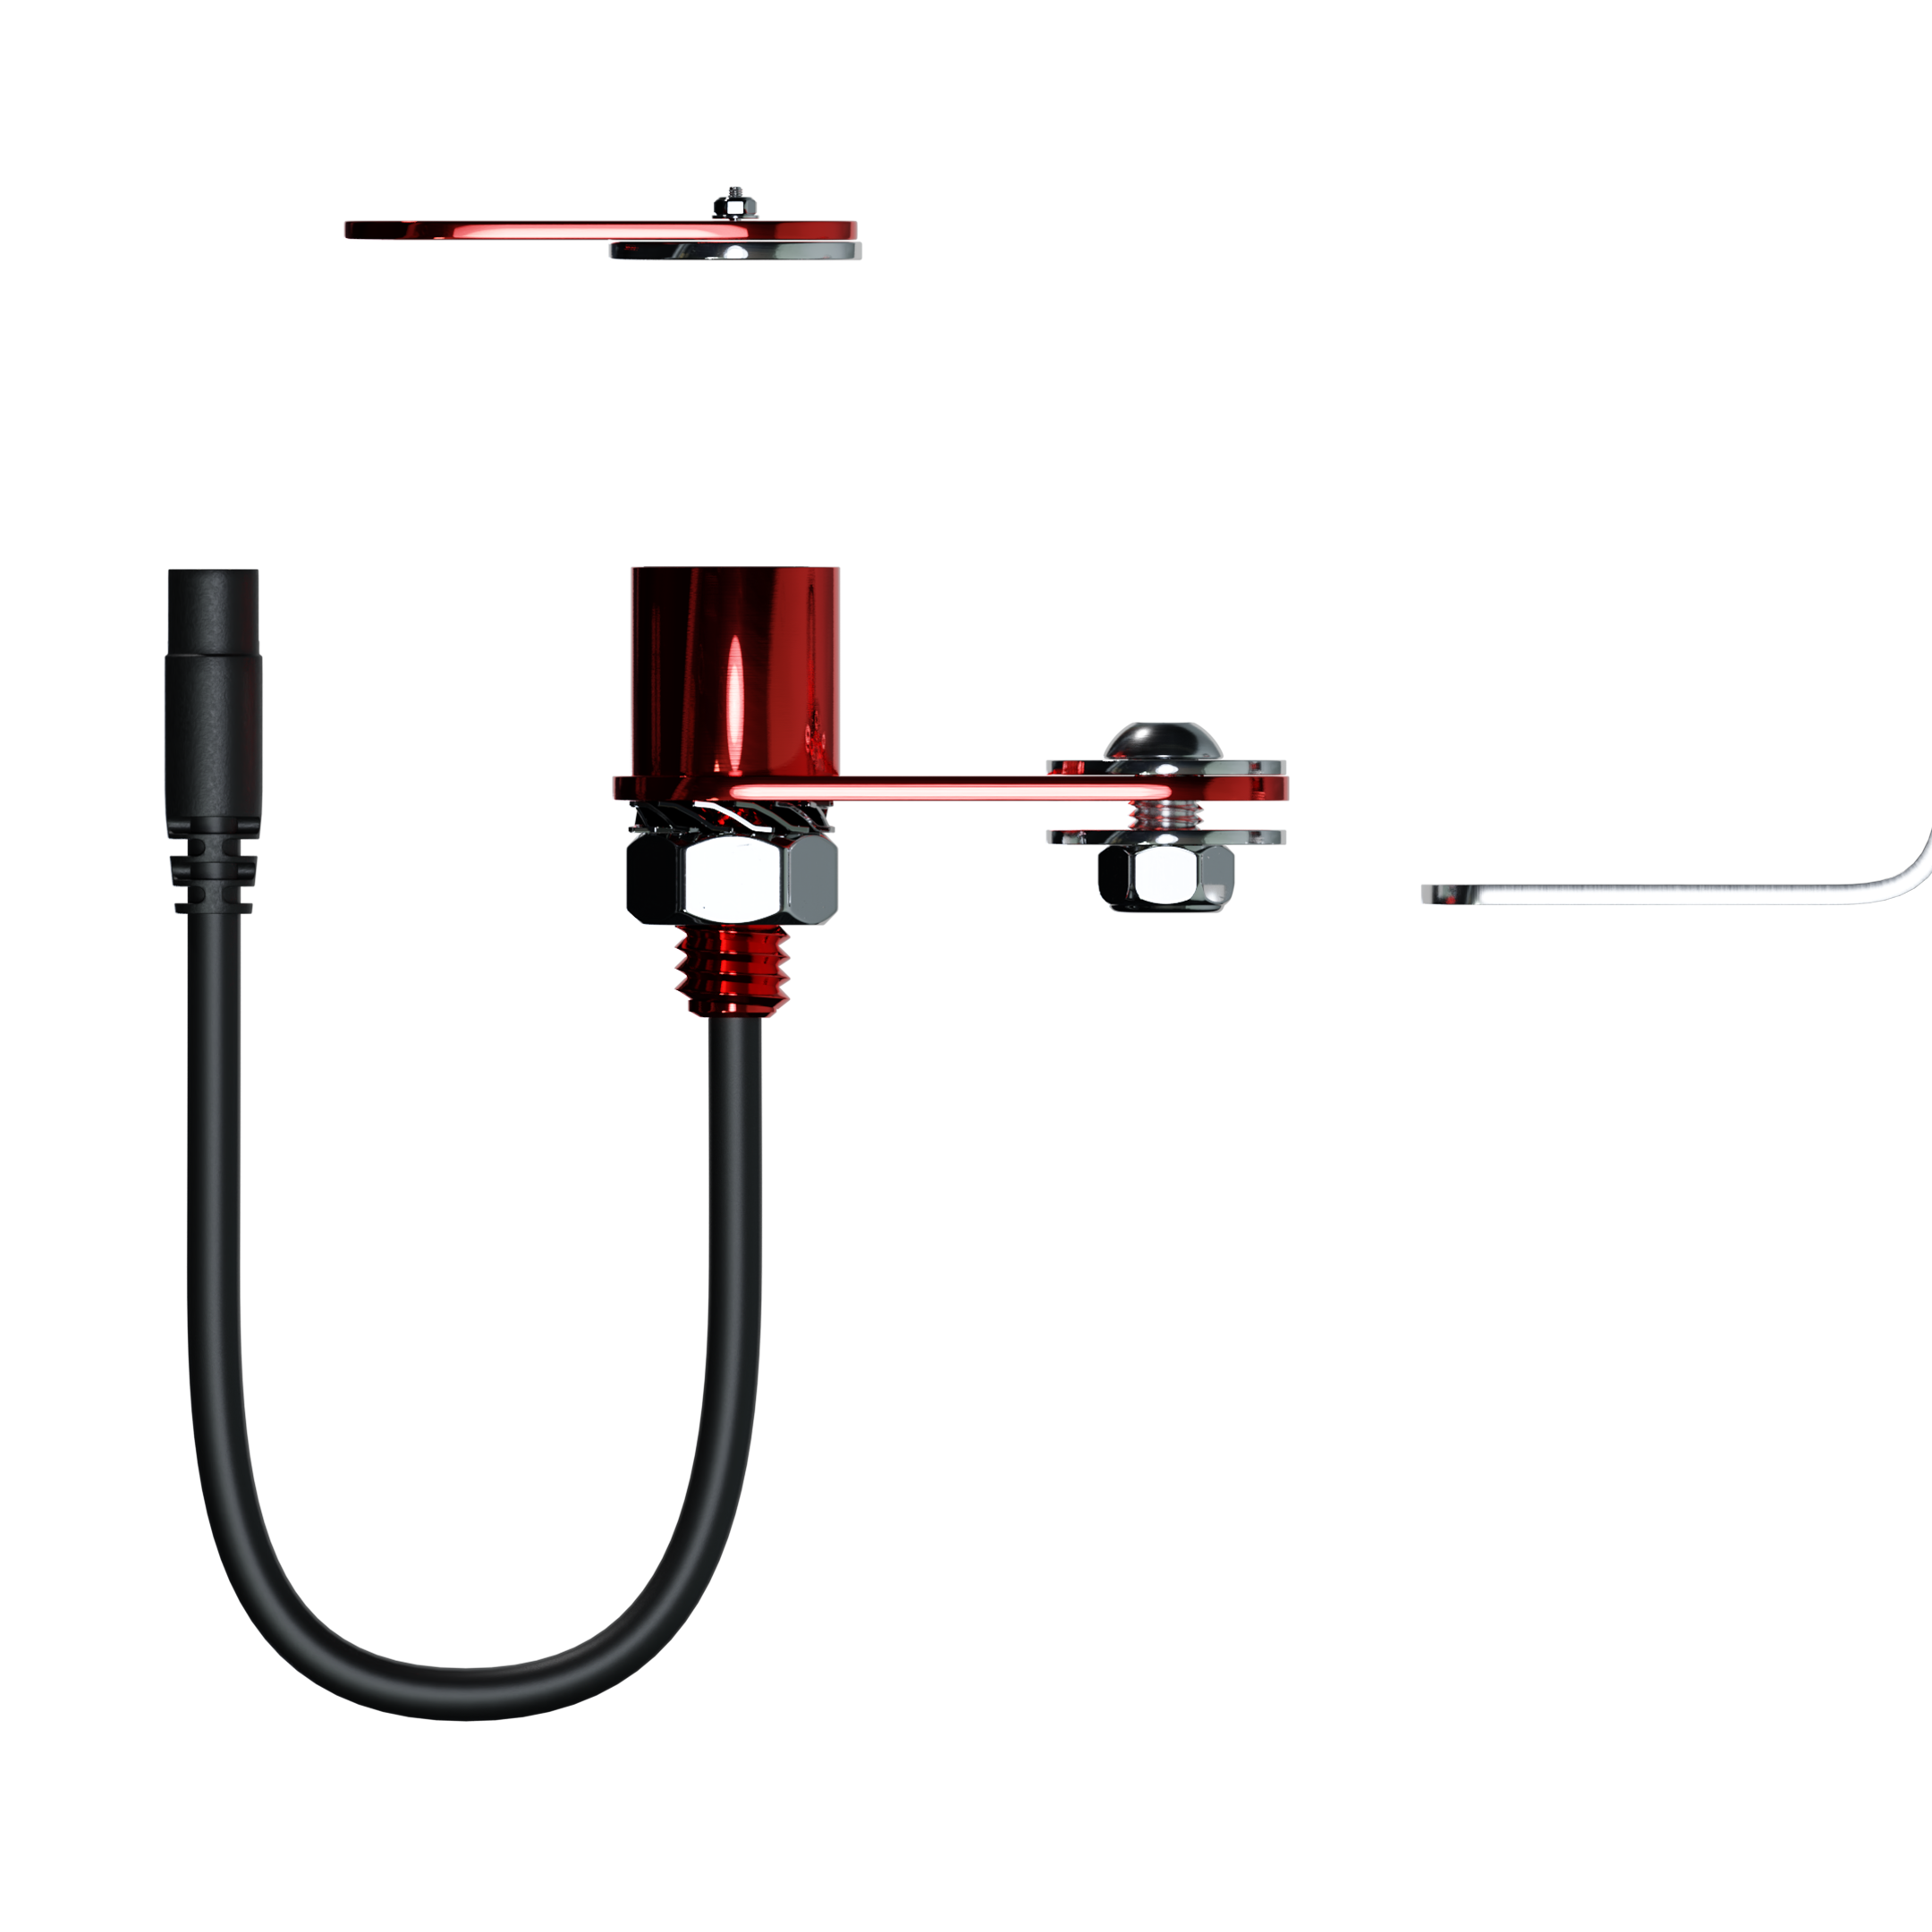
It's no secret that I love the AiM Smartycam. It's the perfect companion to an AiM dash and it's one of the few tech products I've bought in a while (besides Airpods!) that absolutely justifies its premium price. Doing video with a GoPro or other custom camera is a lot of legwork compared to setting up your Smartycam once and letting it do the work for you.
See the thread on rendering video without a Smartycam if you don't have one, and want to use a GoPro other camera instead.
If you took delivery of an SR with a Smartycam, you get a lot of features out of the box. You should get a basic overlay with rpm, gear, speed, and track map without any work. But you may notice that your throttle and brake don't work! Here's how to get them going.
Importing Your Dash
If you haven't already, create a new config for your dash in RaceStudio3. In the "Configurations" section (gear icon), click New... and create a new MXM or MXS profile correlating to the version of the dash you have. You probably have an MXS 1.2 or 1.3.
Once you've done this, turn on your car and connect to its wifi network. It should be named something like "RUSH SR" and a bunch of numbers. It may take a while to connect. One you do, you should see the dash show up in "Connected Devices" at the bottom left of RaceStudio.
Important: You then need to import what's currently on the dash before you modify it! Otherwise, you'll overwrite the stock configuration and end up deleting a bunch of channels. If you do this, you can restore your dash using this file for the MXS 1.2/1.3 on KLine cars. Note this is for Rush SRs produced before March 2023, I will upload a CANBUS config when I can.
Click Receive at the top (highlighted, it won't be grayed out if you're connected to your dash), and it will replace the configuration on your computer with what's currently on your dash.

Brakes
Leave your car on, open RaceStudio 3, and connect to your dash's wifi network. Pull a session from your dash and look at your max front brake pressure in heavy braking zones. Set it to bar, not psi. This becomes important later.


Your max may vary. My car badly needed a bleed so I wasn't running as much pressure as I should; other cars should be reading ~20bar. So in this case I'm going to assume my maximum is 8 bar.
Then, you want to create a Math Channel in your dash, not in the analysis section, so your dash can calculate it live and feed it to the Smartycam. Click the gears icon at the top left, highlight your dash, and go into its settings. Click Add Channel:


I name my channel "BrakePerc", set it to "Pct Brake Load" and do a simple math operation to get it to where I want to go. You want your max pressure * this constant to equal 100. So, since 100/8 = 12.5, my channel is as follows:

Upload your config to the dash and test it. When your car is on you can open it up in RS3 and view live data. I can't show you right now because my car is in a trackside garage, but it should be fairly self-explanatory.
Sidenote: this is why we are looking at our data in bar, not psi. The math that the dash does internally is always on bar. If you are doing a math channel in RS3 Analysis you can choose the unit. Pick a consistent naming scheme so you can tell what is native to your dash and what is a Analysis Math Channel!
Throttle:
In previous versions of this post, we used SDS IGN AN 1. That was complex and not as good as using the MAP sensor. The new formula in Analysis is:
(("SDS MAP" - 6.3) / 7.7) * 100

To do this on your dash, you have to simplify the formula so it can be expressed as a Linear Corrector:
TPS = ((MAP - 6.3) / 7.7) * 100
TPS = (MAP - 6.3) * 12.987
TPS = 12.987MAP - 81.8181

Here's how it comes together:

Sending to SmartyCam:
The last step is to ensure this is being sent to the SmartyCam directly. Set your Throttle Pos and Brake Pos:

And that's it!
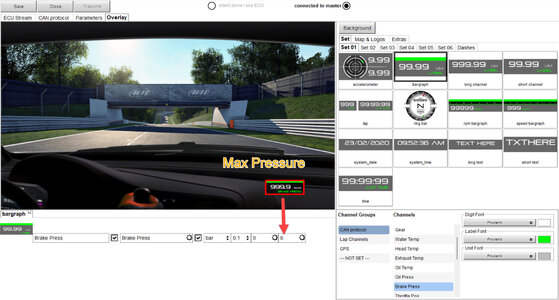
You can configure your overlay however you like. Here's how I do mine (background picture isn't actually a Rush, but it's close):

Here's an example of how it comes together:
See the thread on rendering video without a Smartycam if you don't have one, and want to use a GoPro other camera instead.
If you took delivery of an SR with a Smartycam, you get a lot of features out of the box. You should get a basic overlay with rpm, gear, speed, and track map without any work. But you may notice that your throttle and brake don't work! Here's how to get them going.
Importing Your Dash
If you haven't already, create a new config for your dash in RaceStudio3. In the "Configurations" section (gear icon), click New... and create a new MXM or MXS profile correlating to the version of the dash you have. You probably have an MXS 1.2 or 1.3.
Once you've done this, turn on your car and connect to its wifi network. It should be named something like "RUSH SR" and a bunch of numbers. It may take a while to connect. One you do, you should see the dash show up in "Connected Devices" at the bottom left of RaceStudio.
Important: You then need to import what's currently on the dash before you modify it! Otherwise, you'll overwrite the stock configuration and end up deleting a bunch of channels. If you do this, you can restore your dash using this file for the MXS 1.2/1.3 on KLine cars. Note this is for Rush SRs produced before March 2023, I will upload a CANBUS config when I can.
Click Receive at the top (highlighted, it won't be grayed out if you're connected to your dash), and it will replace the configuration on your computer with what's currently on your dash.
Brakes
Leave your car on, open RaceStudio 3, and connect to your dash's wifi network. Pull a session from your dash and look at your max front brake pressure in heavy braking zones. Set it to bar, not psi. This becomes important later.
Your max may vary. My car badly needed a bleed so I wasn't running as much pressure as I should; other cars should be reading ~20bar. So in this case I'm going to assume my maximum is 8 bar.
Then, you want to create a Math Channel in your dash, not in the analysis section, so your dash can calculate it live and feed it to the Smartycam. Click the gears icon at the top left, highlight your dash, and go into its settings. Click Add Channel:
I name my channel "BrakePerc", set it to "Pct Brake Load" and do a simple math operation to get it to where I want to go. You want your max pressure * this constant to equal 100. So, since 100/8 = 12.5, my channel is as follows:
Upload your config to the dash and test it. When your car is on you can open it up in RS3 and view live data. I can't show you right now because my car is in a trackside garage, but it should be fairly self-explanatory.
Sidenote: this is why we are looking at our data in bar, not psi. The math that the dash does internally is always on bar. If you are doing a math channel in RS3 Analysis you can choose the unit. Pick a consistent naming scheme so you can tell what is native to your dash and what is a Analysis Math Channel!
Throttle:
In previous versions of this post, we used SDS IGN AN 1. That was complex and not as good as using the MAP sensor. The new formula in Analysis is:
(("SDS MAP" - 6.3) / 7.7) * 100
To do this on your dash, you have to simplify the formula so it can be expressed as a Linear Corrector:
TPS = ((MAP - 6.3) / 7.7) * 100
TPS = (MAP - 6.3) * 12.987
TPS = 12.987MAP - 81.8181
Here's how it comes together:
Sending to SmartyCam:
The last step is to ensure this is being sent to the SmartyCam directly. Set your Throttle Pos and Brake Pos:
And that's it!
You can configure your overlay however you like. Here's how I do mine (background picture isn't actually a Rush, but it's close):
Here's an example of how it comes together:
Last edited:


